
How to Add Custom Fonts to Squarespace (Step-by-Step Guide)
Ever see a website with some fancy script font thrown in at just the right place? Or a bold typeface that really pops, but only in certain areas, not as a main font? Well, you can do this too, by adding a custom font to the already existing ones. In Squarespace, you are able to choose font pairings, as in only two fonts per website. And it is typically good practice to stick to two, three max. So today, we will go over how to add a third, custom font to your Squarespace website, because sometimes, you need a little extra flair.

In the Petal template, you can see the script font in the hero section. This is a custom font that was uploaded to Squarespace from Google Fonts.
Using CSS to tell Squarespace where to place code
To use your own custom font, download the font file (try Google Fonts. It will download as a zip file, which you have to to first “unzip”), then upload the file into Squarespace.
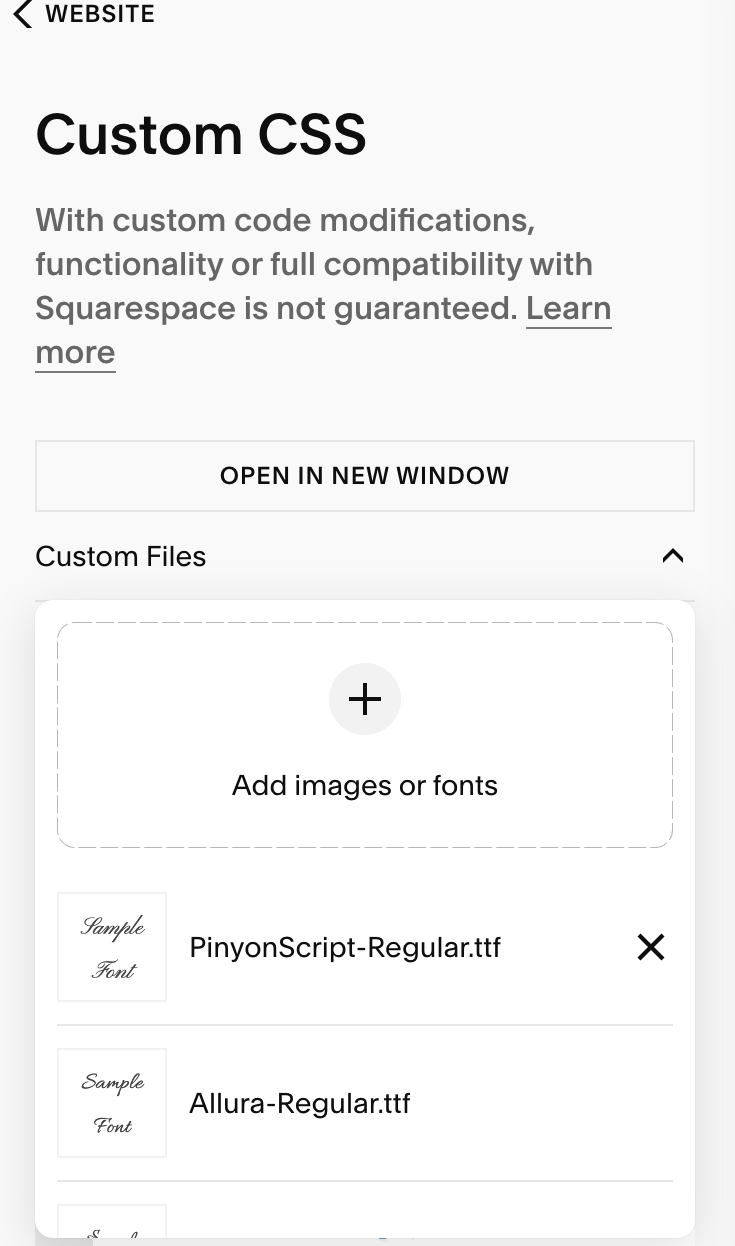
To do this, navigate to Pages-Custom Code-Custom CSS, and you will see an option for Custom Files. Select this and upload your file!
In order to actually use your custom font, you will have to place it with proper code into the CSS box. Below, you will see the CSS code to use your font.
@font-face {
font-family: 'Pinyon Script';
src: url(FONT URL);
}
You first want to name your font.
Our example above uses the Pinyon Script. It is important you are consistent with the name you give it, as you will use it again in another set of code afterwards.
Then, your custom font file should go right where the words “font url” are, in red above.
Make sure it is in the correct place in the code, between the parentheses, or it won’t work. To easily place the code, click into the space between the parentheses (after deleting the “font url” placeholder).
Click the Custom Files, and you should see your font listed.
Click on it, and the url for the font will appear in the box.
From there, the Headings code below it, only needs you to name the font (same name as the font family, above).
Feel free to increase/decrease the font size too! You can repeat the code for other heading sizes as well, if you’d like to have the font available for h2, h3, etc. Simply replace the “h1” below with the other header name.
h1 em {
font-family: 'Pinyon Script' !important;
font-style: normal !important;
font-size: 1.5em;
Now, comes the fun part! Once you hit Save, go back into your editing window to the place you would like to use your custom font, and highlight the specific text to change to your new font. Then, select the Italic icon. That’s right, every time you italicize the font in the header you specified in the code (h1, h2, etc), your custom font will appear!

And there you have it! Now you can easily insert your custom font into your Squarespace website anytime to add some additional style. Have any questions about it? Let us know!